Object Detection on Raspberry Pi with YOLOv8 & Picamera2
Introduction
In this tutorial, you’ll discover how to set up Ultralytics YOLOv8 on your Raspberry Pi and perform both real-time camera inference and static image detection. By following these steps, you’ll transform your Pi into a compact, high-performance computer-vision device capable of detecting objects live via the Pi Camera Module.
You will learn how to:
Install optimized dependencies for ARM
Capture frames with Picamera2
Run YOLOv8 Nano for live inference
Process single images and save annotated results
Components and Tools Required
Hardware
Raspberry Pi 5 Model B (or Pi 4)
Official Pi Camera Module v2 connected via CSI ribbon
Software
Raspberry Pi OS Bookworm (64-bit recommended)
Python 3.11 (built-in)
2 GB+ free storage for models and caches
Why YOLOv8 & Picamera2?
YOLOv8 (from Ultralytics) offers state-of-the-art speed vs. accuracy trade-offs, ideal for edge devices. Picamera2 integrates seamlessly with Raspberry Pi’s libcamera stack, giving you full control over image formats and resolution without complex OpenCV capture code.
Step-by-Step Guide
1 | Update & Install System Packages
sudo apt update && sudo apt upgrade -y
sudo apt install -y python3-pip libjpeg62-turbo ffmpeg v4l2loopback-utils
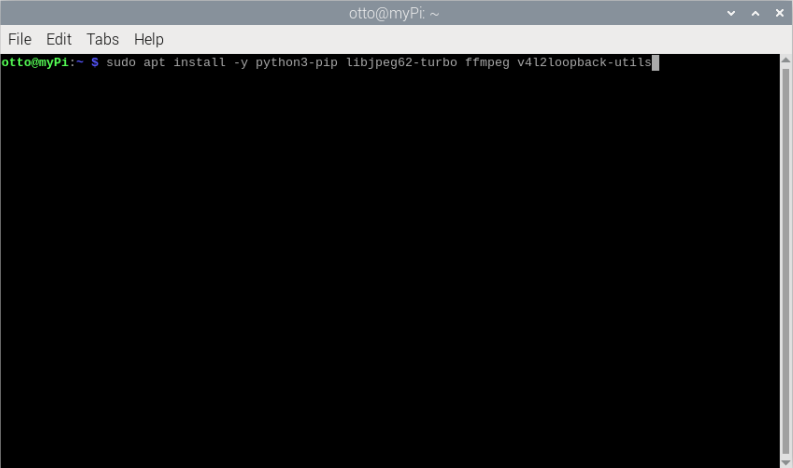
libjpeg62-turboaccelerates JPEG decoding for OpenCV.ffmpegmay be needed for video I/O.
Python Dependencies
Install Ultralytics (which brings in YOLOv8), Torch, OpenCV, and Picamera2:
pip3 install --upgrade pip
pip3 install ultralytics torch torchvision torchaudio --index-url https://download.pytorch.org/whl/raspberrypi/
pip3 install opencv-python-headless picamera2
3 | Live Camera Inference (live_example.py)
This script captures frames from the Pi Camera v2 via Picamera2 and runs YOLOv8v8 Nano for max speed.
#!/usr/bin/env python3
from picamera2 import Picamera2
from ultralytics import YOLO
import cv2

# Initialise camera
picam2 = Picamera2()
config = picam2.create_preview_configuration(
    main={"size": (640, 480), "format": "RGB888"}
)
picam2.configure(config)
picam2.start()

# Load YOLOv8 Nano (smallest, fastest)
model = YOLO("yolov8n.pt")

while True:
    frame = picam2.capture_array()                # NumPy H×W×3
    results = model(frame, imgsz=640, verbose=False)
    annotated = results[0].plot()                  # Draw boxes & labels
    cv2.imshow("YOLOv8 Live on Pi Cam v2", annotated)
    if cv2.waitKey(1) & 0xFF == ord("q"):
        break

cv2.destroyAllWindows()
Configuration: 640×480 gives ~10 FPS on Pi 4/5.
Model:
yolov8n.pttrades off accuracy for speed; tryyolov8s.ptif you need better detection.Exit: Press q to quit the window.
4 | Static Image Inference (detect_image.py)
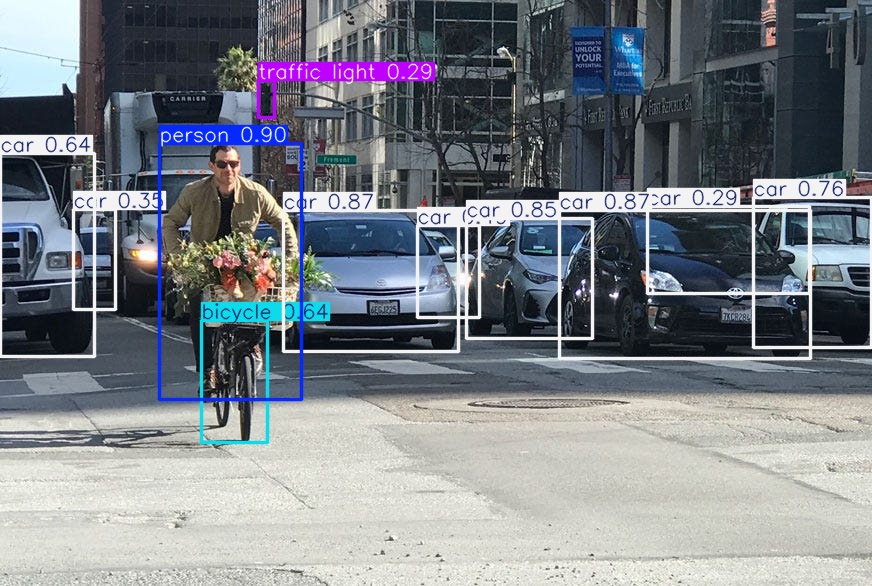
Use this script to process a single photo, print detections, and save an annotated output.
from ultralytics import YOLO

# Load pre-trained model
model = YOLO("yolov8n.pt")

def detect_objects(image_path):
    results = model(image_path)     # Runs inference
    for res in results:
        print(res)                 # Summary: box counts, classes, confidences
    return results

if __name__ == "__main__":
    img = "test.jpg"                      # Your input file
    results = detect_objects(img)
    for i, res in enumerate(results):
        res.save(f"output_{i}.jpg")       # Saves annotated files
Console Output: Number of detections per class, average confidence.
Files:
output_0.jpg, etc., contain bounding boxes and labels.
5 | Running Your Scripts
Live Demo
python3 live_example.py
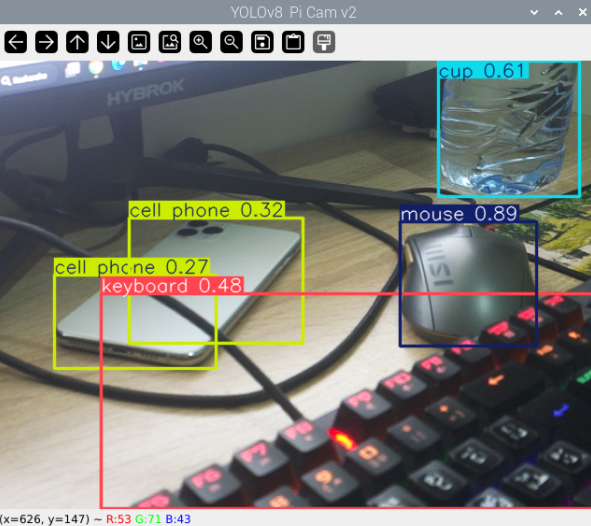
Image Detection
python3 detect_image.py

Make sure you have yolov8n.pt in the same folder (it’ll auto-download on first run).
6 | Troubleshooting
| Symptom | Solution |
|---|---|
TypeError: 'CameraConfiguration'... | Use create_preview_configuration(...) + configure() instead of preview_configuration. |
| Camera not detected after reboot | Reseat CSI ribbon and run vcgencmd get_camera → supported=1 detected=1. |
| Blank or black window | In /boot/config.txt, add gpu_mem=256 and reboot. |
| OpenCV import errors | Install headless build: pip3 install opencv-python-headless. |
| Low FPS | Reduce imgsz to 416 or switch to Nano model (yolov8n.pt). |
7 | Performance Tips
Resolution vs. FPS: 480p ≈ 10–12 FPS; 720p ≈ 6–8 FPS.
Exposure Control:
controls={"ExposureTime": 10000, "AnalogueGain": 1.0}
picam2.start_and_capture_configuration(controls=controls)
Cooling: Add a heatsink or fan to prevent thermal throttling on Pi 4/5.
8 | Conclusion
You now have a full Yolov8-powered object detection setup on your Raspberry Pi, supporting both live camera feeds and static image processing. Feel free to:
Swap in larger models (
yolov8m.pt,yolov8l.pt) for higher accuracy.Integrate the live stream into a Flask/Django web server for remote monitoring.
Expand detection results to trigger GPIO events (alarms, lights, actuators).
Comments (0)
No comments yet. Be the first to comment!
Leave a Comment